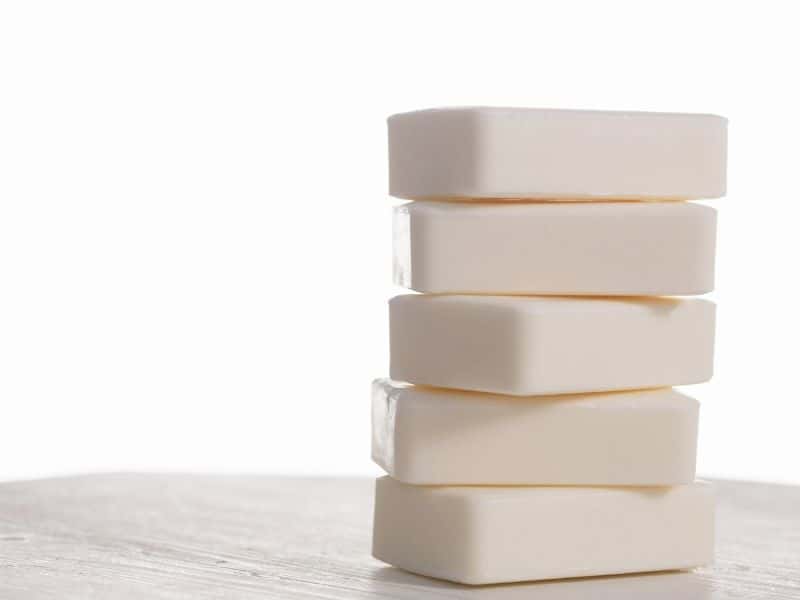
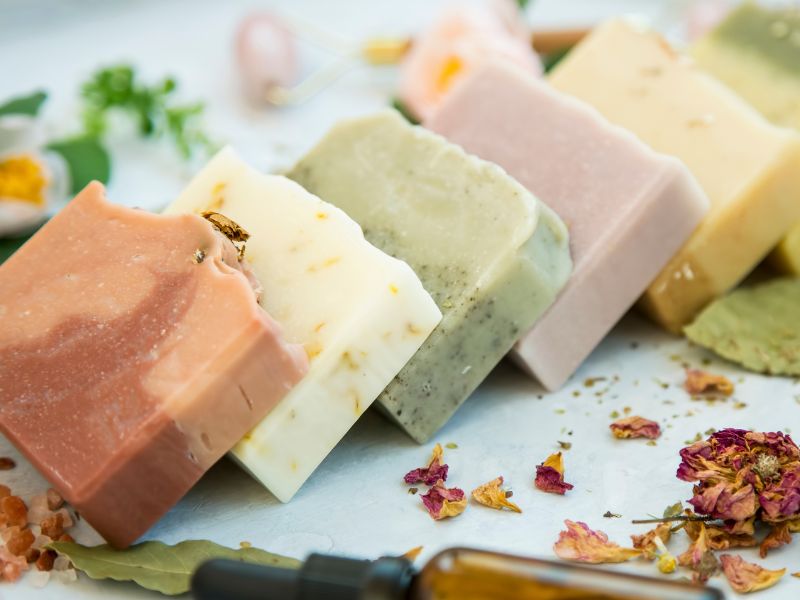
Some people find that their homemade melt and pour soaps are too soft when they first take them out of the mold. If you’re looking for a firmer bar of soap that will last longer in the shower, there are several techniques you can use to harden your finished product. Let’s take a look at how you can harden your melt and pour soap.
You can harden melt and pour soap by adding ingredients such as beeswax, sodium lactate, or stearic acid, which will increase the soap’s hardness and durability. You can also decrease the water content in the soap base or allow it to cure longer.
Generally, melt and pour soap does not need to cure but allowing it to sit and give any moisture time to evaporate can go a long way to help harden the bars of soap.
Factors that Affect the Hardness of Melt and Pour Soap
While melt and pour soap bases are relatively easy to work with, there are several factors that can affect the hardness of the finished product.
Water Content
One of the biggest factors that affect the hardness of melt and pour soap is water content. Too much water can result in a softer soap that melts more easily, while too little water can cause the soap to be crumbly and difficult to work with.
To achieve the optimal water content for your soap, consider using less water to melt the soap base, or substituting water with alcohol, which evaporates quickly and doesn’t affect the soap’s hardness.
Type of Soap Base
Different types of soap bases can also affect the hardness of melt and pour soap. Shea butter or goat’s milk soap bases, for example, are known for their hardness, while glycerin soap bases have a softer texture.
When choosing a soap base, consider the desired texture and hardness of the finished product.
Additives
Certain additives can also be used to increase the hardness of melt and pour soap. Sodium lactate, for example, is a natural additive that can help harden soap, while kaolin clay can be used to add structure and hardness to the soap.
Be sure to follow the recommended usage rates for any additives you choose to use.
Temperature and Cooling Rate
Temperature and cooling rate can also impact the hardness of melt and pour soap. To ensure that your soap is as hard as possible, it’s important to keep the soap at a consistent temperature throughout the melting and pouring process and to let it cool slowly and evenly.
Consider using a soap curing rack to allow for even air circulation, or freezing the soap to speed up the cooling process.
Tips for Hardening Melt and Pour Soap
Many people struggle with getting their melt and pour soap to be as hard and long-lasting as they want it to be. Fortunately, there are several tips and tricks that you can use to help harden your melt and pour soap.
Reduce Water Content
Using Less Water to Melt the Soap Base
When melting the soap base, try using less water than the recipe calls for. This will help to reduce the water content in the soap and make it harder.
Using Alcohol Instead of Water
Instead of using water to melt the soap base, try using alcohol. Alcohol evaporates more quickly than water, which can help to reduce the water content in the soap and make it harder.
Let it Cure
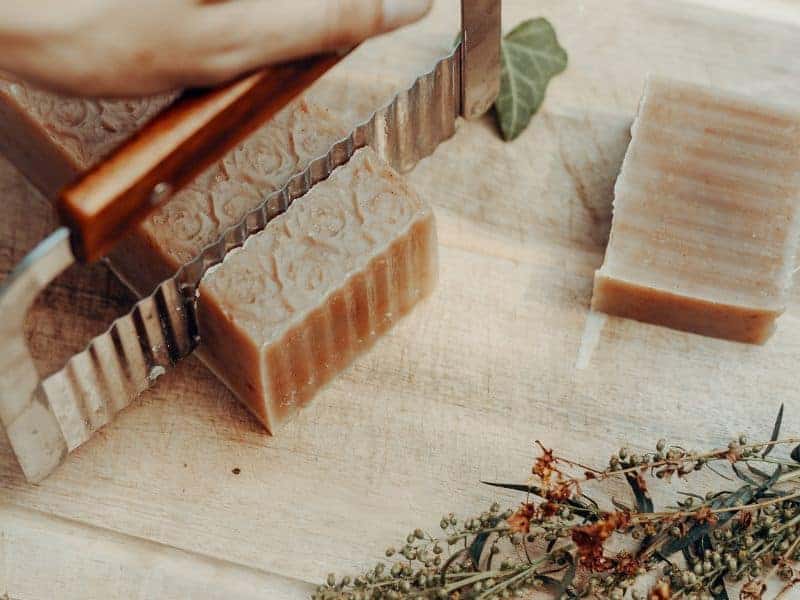
Melt and pour soap does not technically need to cure but letting it sit for a while can help it dry and harden. Once you’ve poured the soap into its mold let it sit for a minimum of 24 hours before you cut it into bars.
Once you’ve cut it into bars let it sit on a curing rack in a room that also has a de-humidifier for a minimum of 48 hours.
Once your soap has had the 72-hour opportunity to lose as much moisture as possible then you should be safe to wrap it and get it ready for storage or to sell it.
Choosing the Right Soap Base
Shea Butter or Goat’s Milk Soap Bases
If you want to create a harder soap, consider using a soap base that contains shea butter or goat’s milk. These ingredients are known for their hardness and can help to make your soap harder and longer-lasting.
High Glycerin Content Soap Bases
Soap bases with a high glycerin content tend to be softer, so if you want a harder soap, choose a base with a lower glycerin content.
Additives to Harden Melt and Pour Soap
Sodium Lactate
Sodium lactate is a natural additive that can help to harden soap. It’s also a humectant, which means it can help to draw moisture to the skin.
Kaolin Clay
Kaolin clay is a natural clay that can be added to soap to help improve the texture and hardness. It’s also gentle on the skin and can help to soothe irritation.
Beeswax
Beeswax is a natural wax that can help to harden soap. Adding as little as 1/2 Tbsp of beeswax can help harden your soap and make it last longer.
It’s also a great natural emollient and can help to soothe dry skin.
Stearic Acid
Stearic acid is a natural fatty acid that can be used to harden soap. It’s also a great emulsifier and can help to improve the texture of the soap.
Controlling Temperature and Cooling Rate
One of the most important factors when it comes to hardening melt and pour soap is controlling the temperature and cooling rate. If the soap cools too quickly, it can result in a softer soap that melts easily.
If the soap cools too slowly, it can result in a soap that is brittle and crumbly. To ensure optimal hardness, follow these tips:
- Melt the soap base at a low temperature, stirring frequently to prevent overheating.
- Once melted, let the soap cool slightly before pouring it into your molds.
- Let the soap cool at room temperature, away from drafts and direct sunlight.
Using a Soap Curing Rack
Using a soap curing rack can help to improve the hardness and longevity of your melt and pour soap. Here’s how to use one:
- After pouring your soap into the molds, let it cool at room temperature for a few minutes.
- Then, transfer the soap to a soap curing rack, making sure that the soap bars are not touching each other.
- Let the soap cure on the rack for at least 24 hours before unmolding.
Common Mistakes to Avoid
There are several common mistakes that can prevent melt and pour soap from hardening properly. Here are a few to watch out for:
- Overheating the soap base can result in a softer soap that melts easily.
- Using too much water can dilute the soap base and result in a softer soap.
- Not letting the soap cure properly can result in a softer soap that doesn’t last as long.
Avoiding common mistakes like overheating the soap base, using too much water, and not letting the soap cure properly, you can create a harder, longer-lasting bar of soap.
Frequently Asked Questions
Harder soap bars are more durable and last longer, which is desirable for both personal use and for selling handmade soap.
Beeswax is a hard, natural wax that increases the hardness and durability of the soap.
Sodium lactate is a salt derived from lactic acid. It helps harden soap by attracting moisture, making it less likely to soften or melt.
The recommended amount is around 1-2% of the total weight of the soap base.
Yes, stearic acid is a fatty acid that can be added to soap to increase its hardness and stability.
Curing time will depend on the specific recipe and ingredients used, but generally, it can take 3-4 days for melt and pour soap to fully harden.
Yes, decreasing the water content can result in a harder soap bar, but it can also make the soap more prone to cracking.
Higher temperatures can soften and melt the soap, while lower temperatures can make it harder and more durable.
Conclusion
In conclusion, hardening melt and pour soap is possible with the right techniques. You can add beeswax or sodium lactate, use a soap curing rack, freeze the molds, or reduce the water content in the base to achieve a harder bar of soap.
Additionally, you should try to avoid common mistakes such as overheating or using too much water in order to get the best results. With these tips and tricks, you can create a long-lasting bar of soap that is both aesthetically pleasing and durable.

