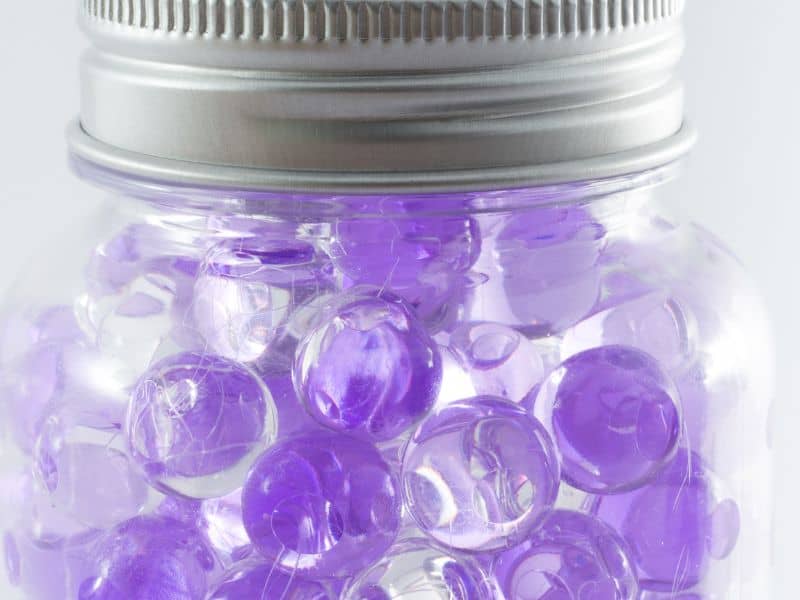
Aroma beads are popular in home fragrances. They’re fun to make and a joy to use. But sometimes, they can be a bit tricky. One common issue crafters face is aroma beads not drying properly. If you’ve had this problem, you’re not alone. But don’t worry, we’ve got you covered.
If your aroma beads aren’t drying, it could be due to too much fragrance oil, high humidity, or the size of the beads. Larger beads and excessive oil can increase drying time, and damp conditions can further slow down the process.
Understanding these factors is key to solving your problem. By adjusting the oil quantity, choosing the right bead size, and controlling humidity, you can ensure your aroma beads dry correctly. We’ll delve deeper into each of these aspects, offering practical solutions and preventative measures.
Let’s take a closer look at this issue in the article below.
Understanding Aroma Beads
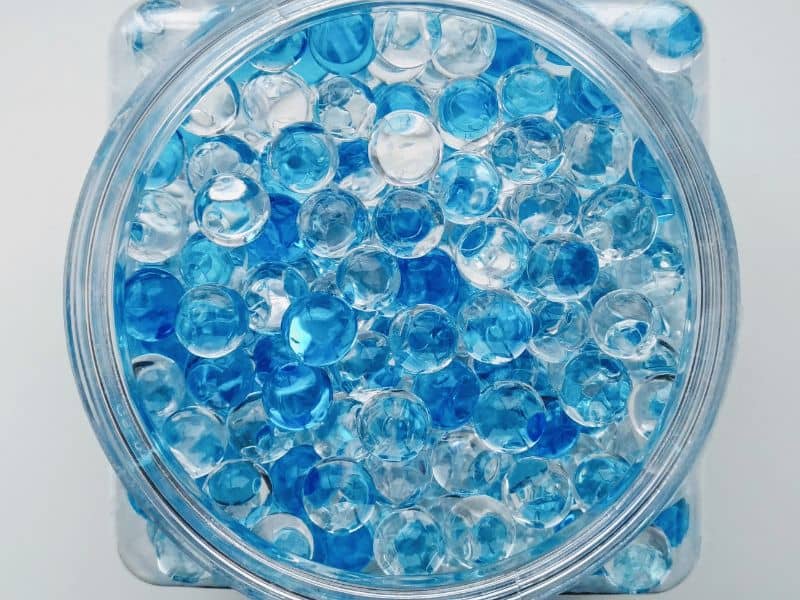
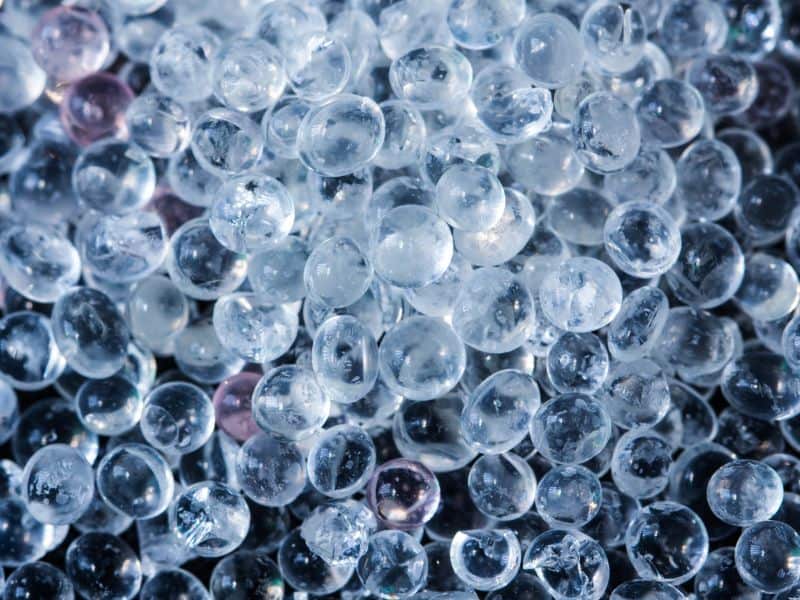
Aroma beads begin their life as tiny, neutral plastic spheres. These are like blank canvases. They’re ready to take on any scent we choose. The transformation process is simple but fascinating.
To make scented aroma beads, we immerse these spheres in our chosen fragrance oil. This process is like a sponge soaking up water. The beads absorb the oil, growing larger as they fill up. As the beads soak up the oil, they take on the scent of the oil. This gives them their distinctive aroma.
Once the beads have soaked up the oil, it’s time for them to dry. Drying allows the beads to solidify and hold onto the scent. This process typically takes between one to two days. But sometimes, it can take more time.
Why Aroma Beads Might Not Dry
The first common reason is the use of excess fragrance oil. It’s like overfilling a water balloon. If there’s too much oil, the beads can’t fully absorb it. They remain saturated and wet. It’s crucial to use the right amount of oil for the beads to absorb and dry properly.
Next, let’s talk about the weather. Yes, the weather! Specifically, humidity. Humidity refers to the amount of moisture in the air. In areas with high humidity, water evaporates slower. This is true for your aroma beads as well. If the air around them is moist, they’ll take more time to dry.
Lastly, the size of the beads plays a role too. Larger beads have more surface area. This means they can hold more water. But it also means they need more time to release that water and dry out. So, if you’ve used larger beads, they’ll need a bit more patience from your side.
In our upcoming sections, we’ll delve into how to tackle these challenges. So, stick around!
Addressing Wet Bead Challenges
First up, managing fragrance oil. A common mistake is using too much oil. You don’t need a lot to make your beads smell great. Start with a ratio of one ounce of oil for every cup of beads. But, remember, some oils are more potent. You might need to adjust the amount.
Can’t control the humidity? You can still make perfect aroma beads. If you’re in a humid region, consider investing in a dehumidifier. This gadget lowers moisture in the air. It can create a better drying environment for your beads.
Let’s talk about bead size. Large beads can stay wet longer. They soak up more oil and take longer to release it. To speed up drying, choose smaller beads next time. They absorb and release oil quicker, reducing drying time.
Avoiding Wet Beads in the Future
Keep a close eye on your oil-bead ratio. Too much oil leaves beads wet. Stick to the one ounce of oil to one cup of beads rule. But always adjust based on the oil’s strength.
Think about where you’re storing your beads. They need a cool, dry space. Warm, damp spots won’t help them dry.
Don’t forget to check on your beads often. Every few hours, gently touch a bead. It should feel dry to the touch, not oily or damp.
Tips For Curing Aroma Beads
Curing aroma beads correctly is vital for a successful outcome.
Here are some tips to help you out.
First, pay attention to the oil-to-bead ratio. Use about one ounce of oil for each cup of beads. However, since oils vary in strength, you may need to adjust this ratio. Too much oil can leave the beads wet.
Second, consider the drying environment. Aroma beads need a cool, dry place to cure. High humidity can slow down the drying process. If you live in a damp climate, consider using a dehumidifier.
Third, be patient. Aroma beads typically take 24 to 48 hours to dry. Don’t rush the process. Let nature take its course.
Finally, regularly check on your beads. Gently touch them to see if they’re dry. They shouldn’t feel oily or damp.
Aroma Beads Dos and Don’ts
Making aroma beads is an art. And like any art, there are dos and don’ts.
Let’s start with the dos.
Do measure your oil and beads carefully. A small kitchen scale can help.
Do stir your beads gently when mixing with oil. Rough stirring can break them.
Do store your beads in a cool, dry place. Warm, damp spots can make them wet.
Now, let’s talk about the don’ts.
Don’t rush the drying process. It takes time. Be patient.
Don’t use too much oil. Your beads won’t be able to absorb it all. They’ll stay wet.
Don’t ignore the bead size. Larger beads take longer to dry. Keep this in mind when choosing beads.
Remember these tips to make the best aroma beads. They’ll be dry and wonderfully scented!
Aroma Bead Troubleshooting Guide
Encountering problems with your aroma beads? Let’s walk through a step-by-step guide to identify and address common issues.
- Wet Beads: If your beads are still wet after 48 hours, there might be too much oil. Next time, try using less. A good guideline is one ounce of oil for one cup of beads. But adjust as needed, based on the oil’s strength.
- Weak Scent: Are your beads not smelling strong enough? You may need to add more oil. Or, the oil you’re using might not be potent enough. Experiment with different oils to find the perfect strength.
- Slow Drying: Are your beads drying slower than expected? Check the humidity of your environment. High humidity can slow down the drying process. If possible, use a dehumidifier or choose a less humid day for your crafting.
- Large Beads Not Drying: If you’re using larger beads, they may take longer to dry. Larger beads absorb and release more oil. Consider using smaller beads if you need them to dry faster.
Remember, crafting aroma beads requires practice and patience. If things don’t go perfectly the first time, don’t get discouraged. Keep experimenting and adjusting your methods. Soon, you’ll be creating beautifully scented, perfectly dried aroma beads with ease.
Frequently Asked Questions
You can speed up the drying process by using less oil, making your beads in a less humid environment, or using smaller beads.
A good starting point is one ounce of oil for one cup of beads. However, you may need to adjust based on the oil’s strength.
Check on your beads every few hours. They should feel dry, not oily or damp.
Store your aroma beads in a cool, dry place to help them dry out and maintain their scents.
Common mistakes include using too much oil, rushing the drying process, and not considering the size of the beads.
Conclusion
In conclusion, making aroma beads is a delightful craft. It’s a fun way to fill your spaces with your favorite scents. But like any craft, it has its tricks. Understanding how to manage oil quantity, handle humidity, and pick the right bead size are key.
Avoiding common mistakes is also crucial. Remember, rushing the process won’t help. Neither will using too much oil or ignoring the bead size. Take your time, measure your ingredients, and choose your bead size wisely.
In the end, patience pays off with perfectly dried, wonderfully scented aroma beads. So, don’t get disheartened if your first few batches don’t turn out as expected. Keep experimenting and learning. With time, you’ll master the art of making aroma beads.

