There are a few things you can do to make your melt and pour soap lather more. These can range from adding a few key ingredients or using the soap a bit differently. With soap making, it is likely by adding a few ingredients.
Make melt and pour soap lather more by adding sugar, coconut oil, palm oil, or clay. In addition, applying the soap differently can also increase the lather. Such as using a loofah or other type of washing instrument.
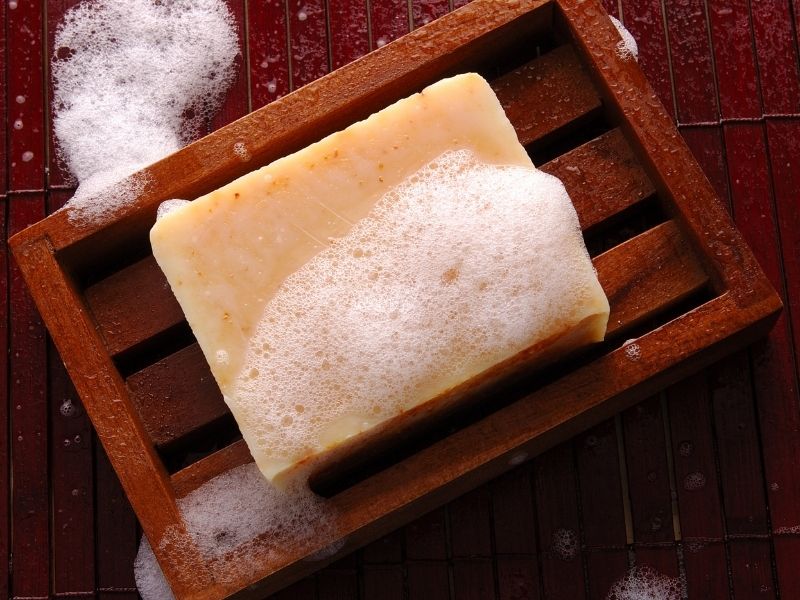
When melt and pour soap is made correctly, it can lather quite a bit. But sometimes people want an extra boost to create more bubbles.
Let’s take a look at some of the specifics.
Why Isn’t Your Melt and Pour Soap Lathering Much?
Before anything else, you need to identify why your melt and pour soap isn’t lathering the way you want it to. There are a number of reasons why this happens, so pinpointing these various causes are important to come up with the right solution. Here are two of the main reasons why your soap isn’t lathering according to your expectations.
Oil
One of the most common mistakes that people make when making soap is putting oils that discourage lather in the mix. One example of this is olive oil. Whether you’re a beginner or someone who has been making pour and melt soaps for a while now, then you probably know that olive oil works great when mixed with coconut oil. However, one downside to this is that it doesn’t cause your soap to lather alone.
Water
This is a reason which is overlooked by a lot of people. After all, what difference can water make? However, one important thing that you should know is that it makes a difference more than you think. Some types of water have components such as magnesium, calcium, and sometimes an alarming amount of chlorine. If you’re unfamiliar with this knowledge, it is also known as hard water. Hard water is another reason why your soap doesn’t lather much, so it’s important to know your water.
Ways to Make Melt and Pour Soap Lather More
Whether you’re just starting to make your own soap, you’re already managing a business, or simply bought a melt and pour soap you still want to remedy, all hope is not lost. There are various ways you can make your soap lather, so if one method doesn’t work, other methods will! Here is a shortlist of different ways you can your soap bubble to its full potential.
Add Sugar To Increase Lather in Your Soap
Adding sugar is one of the most well-known tricks for a soapier lather. To increase your soap’s bubble, prepare sugar, wine, or anything that has high sugar content. For this method to work, you have to mix and add the sugar in small, calculated measures. You can use a teaspoon or any small container and use it as a basis for every pound of soap that you make.
While this is a great way to make your soap lather, there is a downside to this. Mixing sugar in your soap recipe can lessen the shelf life of your melt and pour soap. The usual shelf life is 4 to 6 years, and putting sugar in the mix would decrease it to a span of 3 months to about a year.
If your soap is going to be for immediate and regular use, this is the method for you. It will also come in handy if you want to produce a soap that serves as both a sugar scrub bar and exfoliant.
Fun fact! Sugar also produces larger bubbles, so the more you know how to use it to your advantage, the better.
Change How You Apply Your Soap
This method works best if you already have a finished product in your hands. If there’s nothing else you can do before and during making your melt and pour soap, one immediate solution is to try out different application methods to try and increase lather. Whether you’re a soapmaker or have just started to use a new soap that doesn’t lather much, you can try and increase lather through this method.
All you have to do is buy a loofah and experiment with it. A lot of people use soap by rubbing it directly to the skin, but it proven and tested that loofahs create more lather and produce thicker, bigger bubbles.
Increase The Amount of Coconut Oil in Your Melt and Pour Soap
As mentioned earlier, coconut oil is a great duo of olive oil. Aside from increasing the lather of your soap, it also has great moisturizing and firming properties. Coconut oil is a natural cleansing ingredient, which helps heal and reduce acne and oil buildup. Just like how olive oil is ineffective alone, coconut oil shouldn’t be the sole ingredient in your melt and pour soap.
In doing this method, the recommended amount that you should mix is about one to two tablespoons of oil. Even though it seems like a small amount, you’ll notice that it will result in a thicker lather. To test the resulting soap, try rubbing it on your hands and add and decrease according to your desired amount. Results will vary.
Incorporate Glycerin into Your Melt and Pour Soap Mix
If you don’t know this yet, melt and pour soaps containing glycerin, which is the reason why it’s easy to make and process. Because of that, it has also earned its alternative name which is glycerin soap. Glycerin is combined with other alcohols to make the soap easier to be remelted and make it more flexible for pouring, shaping, and other necessary processes. As for its advantages, glycerin is a natural moisturizing agent which helps improve the skin.
When adding more glycerin to your melt and pour soap, you have to add it gradually in small amounts since it already contains it in the first place. The recommended ratio is about half a teaspoon per soap, or you can decrease and increase it depending on your preference.
Quick note: A soap’s base makes a big difference, so you can experiment with different kinds of bases such as various oils, butter, and even milk.
Incorporate Clays in Your Melt and Pour Soap
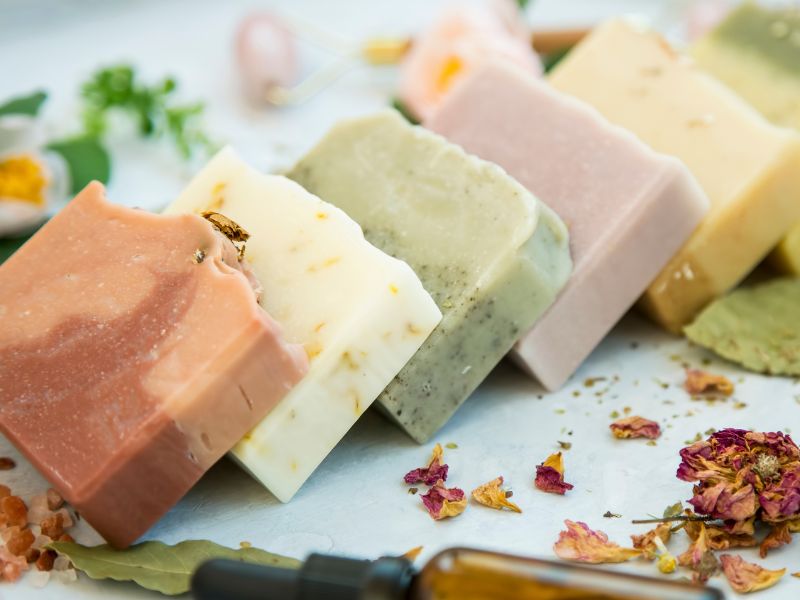
It is no secret that soap is an essential ingredient when it comes to soap-making. This is because it acts as an exfoliant, making skin softer and even reducing blemishes. Different types of clay such as rose clay, kaolin soap, or bentonite can improve one’s skin drastically. You can think of this as an add-on for a thicker lather of your soap plus a healthier, more glowing skin. In addition to the mentioned benefits, clay also has natural healing properties and is used for sunburns and other rashes.
Frequently Asked Questions
There are a few things you can do to increase the lather of melt and pour soap. One is to change how you apply the soap, such as using a loofah instead of directly applying it to the skin. You can also try adding more coconut oil or glycerin to the mix. Another method is to incorporate clays into the soap, which not only increases lather but also has other benefits for the skin.
There could be a few reasons why your melt and pour soap isn’t lathering. One possibility is that you’re not using enough of the soap, so try using more of it. Another reason could be that the soap itself is low-quality or doesn’t contain ingredients that increase lather. If you’re still having trouble, try one of the methods mentioned above.
Aside from being able to control the ingredients and adding ones that benefit the skin, melt and pour soap is also convenient and easy to use. It’s a great option for those who want to make their own soap but don’t have the time or patience for cold process soapmaking.
Conclusion
In conclusion, melt and pour soap is a great way to create your own custom soap without having to go through the hassle of traditional soapmaking.
There are a few things you can do to increase its lather, such as changing how you apply it, adding more coconut oil or glycerin, or incorporating clays into the mix.
With melt and pour soap, you can create a product that is unique to you and your needs.

