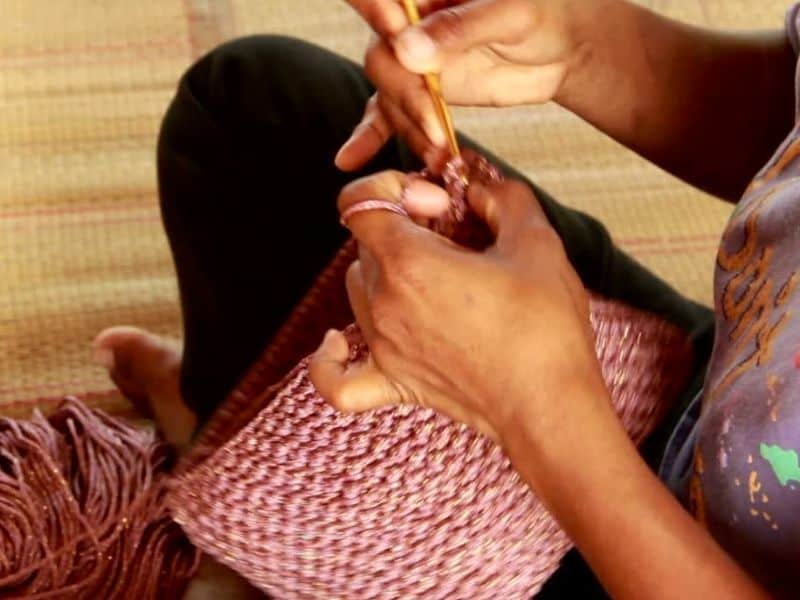
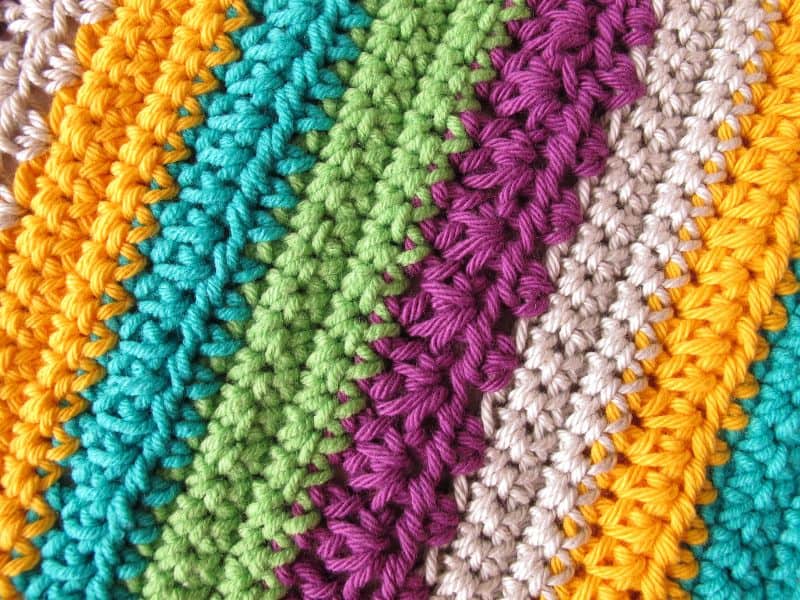
Crochet has experienced a resurgence in popularity in recent years, with more and more people taking up the craft as a way to relax and unwind. It is a great way to express creativity, relieve stress, and create something beautiful and functional at the same time. One important technique you should learn is how to crochet a circle.
Learning how to crochet a circle is an important skill for anyone interested in the craft. Circles are used in a variety of crochet projects, from coasters to mandalas, and are a basic building block for many patterns. Mastering the technique of crocheting a circle will allow you to create a wide variety of projects and expand your skills as a crocheter.
Materials and Tools Needed
Materials and tools needed for crocheting circles.
Yarn Selection and Characteristics
The first step in crocheting a circle is selecting the right type of yarn. There are many different types of yarn available, each with their own unique characteristics. When selecting yarn for a circle, it’s important to choose a type of yarn that is not too slippery and has good stitch definition.
Some popular choices for crocheting circles include cotton, wool, and acrylic yarn.
It’s also important to consider the weight of the yarn, which will determine the size of the circle you can create. For smaller circles, choose a lightweight yarn such as sport weight or fingering weight. For larger circles, choose a heavier-weight yarn such as worsted weight or bulky weight.
Crochet hooks
The next essential tool for crocheting circles is a crochet hook. Crochet hooks come in a variety of sizes, and the size of the hook you choose will depend on the weight of the yarn you are using. When crocheting circles, it’s important to choose a hook that is comfortable to hold and easy to work with.
Other tools needed
In addition to yarn and crochet hooks, there are a few other tools you’ll need for crocheting circles. First, you’ll need a pair of scissors to cut the yarn. You’ll also need a tapestry needle to weave in the ends of the yarn once you’ve finished crocheting the circle.
Another helpful tool for crocheting circles is a stitch marker. A stitch marker is a small clip or ring that can be placed in the stitch to mark the beginning of the round. This is especially helpful when crocheting circles, as it can be difficult to tell where the round begins and ends.
How to Crochet a Circle
Crocheting circles is a fundamental skill in the world of crochet, and it’s easier than you might think.
Creating a Magic Ring
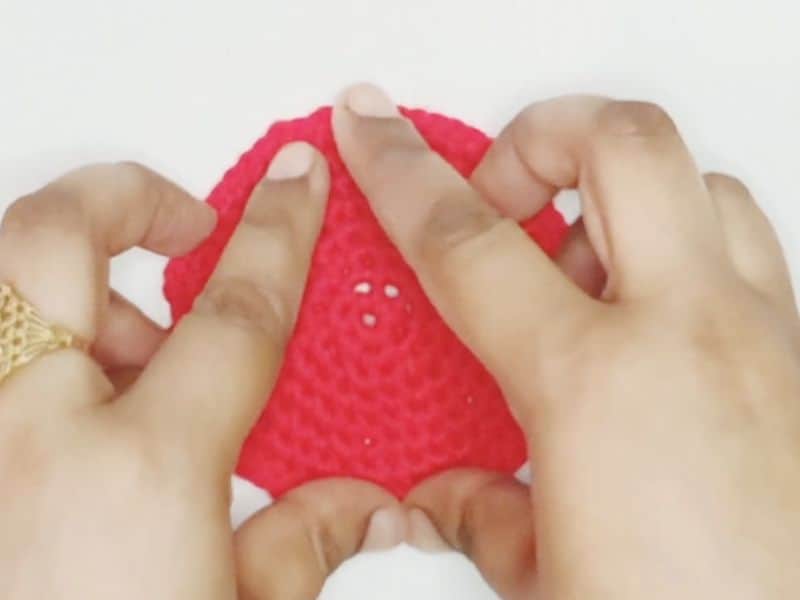
The first step in crocheting a circle is creating a magic ring. This technique allows you to start the circle without leaving a hole in the center. To create a magic ring, hold the end of the yarn in your left hand and wrap the yarn around your fingers twice, creating a loop.
Insert the hook into the loop, yarn over, and pull up a loop. Then, chain one to secure the loop.
Starting the Circle
Once you’ve created the magic ring, it’s time to start crocheting the circle. Begin by chaining three, which will serve as the first double crochet stitch.
Then, make a double crochet stitch into the center of the magic ring. Continue making double crochet stitches into the center of the ring until you have the desired number of stitches.
Increasing the Circle
To increase the size of the circle, you’ll need to add stitches in each round. To do this, make two double crochet stitches into each stitch of the previous round.
Continue increasing the number of stitches in each round until the circle is the desired size.
Closing the Circle
Once you’ve reached the desired size of the circle, it’s time to close the circle. To do this, slip stitch into the top of the first double crochet stitch you made in the round.
Then, chain one to secure the stitch.
Finishing off the Circle
To finish off the circle, cut the yarn and pull it through the loop on your hook. Use a tapestry needle to weave in the ends of the yarn, making sure to hide them as much as possible.
Tips for Crocheting a Circle
Circles can be used to create a wide range of projects. Here are some tips for crocheting circles and a few pattern ideas to inspire your next crochet project.
Keeping a consistent tension
One of the keys to crocheting a perfect circle is keeping a consistent tension. If your tension is too loose, the circle will be floppy and won’t hold its shape. If your tension is too tight, the circle will curl up and be difficult to work with. To maintain a consistent tension, try to hold the yarn and hook firmly but not too tightly, and take breaks to stretch your hands and wrists.
Using stitch markers
Stitch markers can be incredibly helpful when crocheting circles. Placing a stitch marker at the beginning of each round can help you keep track of where the round begins and ends. This is especially important when crocheting circles with many rounds, as it can be difficult to tell where one round ends and the next begins.
Checking your stitch count
Another tip for crocheting circles is to check your stitch count frequently. Each round should have the same number of stitches as the previous round, and if you accidentally skip a stitch or add an extra stitch, it can throw off the entire circle. By checking your stitch count after each round, you can catch mistakes early and avoid having to unravel your work.
Pattern Ideas Using Crochet Circles
Coasters
Crocheted coasters are a great beginner project that can be made using circles. You can use any color or combination of colors to create a unique set of coasters that will protect your furniture from water rings.
Granny squares
Granny squares are a classic crochet project that can be made using circles as a base. By joining multiple circles together, you can create a colorful and intricate design that can be used for blankets, pillows, or even clothing.
Mandala
Mandalas are intricate circular designs that are popular in many cultures. Crocheted mandalas can be used as wall hangings, table runners, or even as a focal point for a meditation or yoga practice.
Hats
Crocheted hats can be made using circles as a base for the crown. By increasing the number of stitches in each round, you can create a hat that fits snugly and keeps your head warm in cold weather.
Bags
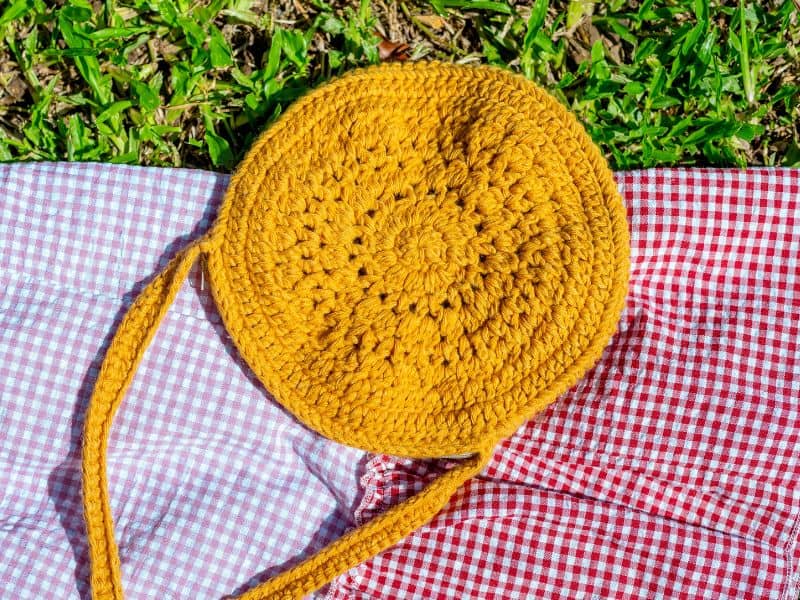
Crocheted bags can also be made using circles as a base. By increasing the size of the circle and adding handles, you can create a stylish and functional bag that can be used for shopping, carrying books, or even as a purse.
Frequently Asked Questions
A magic ring is a technique used to create a tight and neat center for crocheting circles.
To increase the size of a crochet circle, you can add more stitches to each round, gradually increasing the number of stitches as you move further out from the center.
Consistent tension is important when crocheting circles to ensure that the circle holds its shape and does not curl up or become floppy.
Yes, you can crochet a circle with any type of yarn, but the weight and texture of the yarn will affect the final look and feel of the circle.
To close a crochet circle, you can either slip stitch into the first stitch of the round or use an invisible join technique to finish off the circle.
Stitch markers can help you keep track of where each round begins and ends when crocheting circles with many rounds.
Common mistakes when crocheting circles include skipping stitches, adding extra stitches, and not maintaining consistent tension.
Yes, there are different methods for crocheting circles, including using a magic ring, starting with a chain and slip stitching into a circle, or working into the center of a chain.
Conclusion
In conclusion, crocheting circles can be used to create a variety of projects, from coasters to granny squares and even hats and bags. To ensure that your project turns out correctly, it is important to keep track of your stitch count, maintain consistent tension, and look for common mistakes.
There are also different methods for starting a crochet circle, so you can experiment with different techniques until you find the one that works best for you. With practice and patience, you will soon be an expert at crocheting perfect circles!

