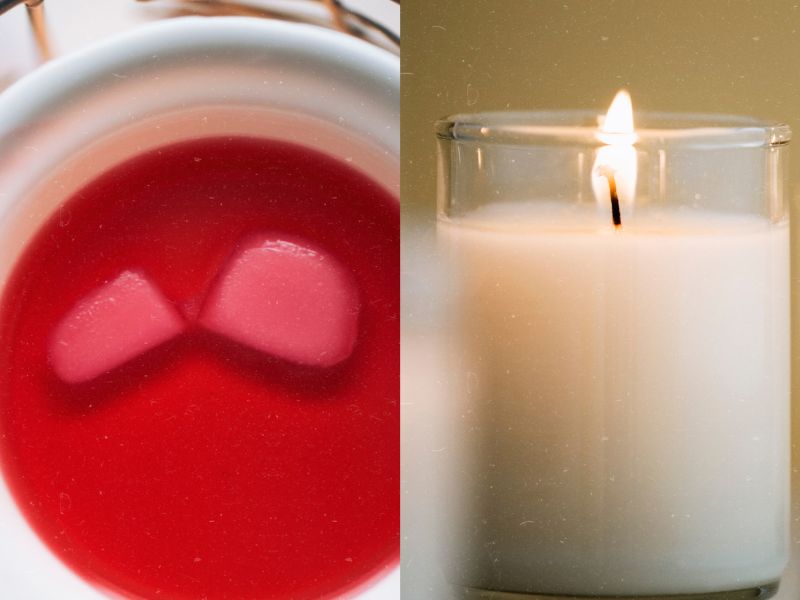
Melting candle wax is a fun, easy way to create new candles or reuse old ones. When you melt candle wax, you can make crafts, and gifts, and save money.
To melt wax on a stove, set up a double boiler by placing a heat-safe bowl or a wax pouring pot on a pot filled with water. Heat the water on low to medium heat, add wax to the bowl, and stir gently until fully melted. Monitor the wax temperature with a thermometer for best results.
Using a stove to melt wax is a simple method, perfect for beginners and experts alike.
The benefits of using a stove include easy temperature control, quick heating, and being a common household appliance. By learning how to melt candle wax on the stove, you can create unique candles right at home while buying limited equipment.
Materials Needed to Melt Wax on a Stovetop
Before you begin, gather these essential items:
- Candle wax (new or old)
- A pouring pot or heat-safe glass or metal bowl (to hold wax)
- A pot (to create a double boiler)
- A stove
- A heat-resistant spatula or spoon (to stir wax)
- A thermometer (to check wax temperature)
- Containers (for your new candles)
- Wicks (if making new candles)
- Fragrance oils or colorants (optional)
- By following these rules, you can enjoy melting candle wax on the stove safely and easily.
Step-by-Step Guide to Melting Candle Wax
Prepare the Stove Area
Before starting, clean and declutter the stove area. Remove any flammable items, like paper towels or oven mitts. Keep a fire extinguisher nearby in case of emergencies. Ensure proper ventilation by opening windows or turning on an exhaust fan.
Assembling the Double Boiler
A double boiler is essential for melting wax safely and evenly on the stove. It prevents direct contact between the wax and the heat source, reducing the risk of overheating.
Selecting the Right Pot and Bowl
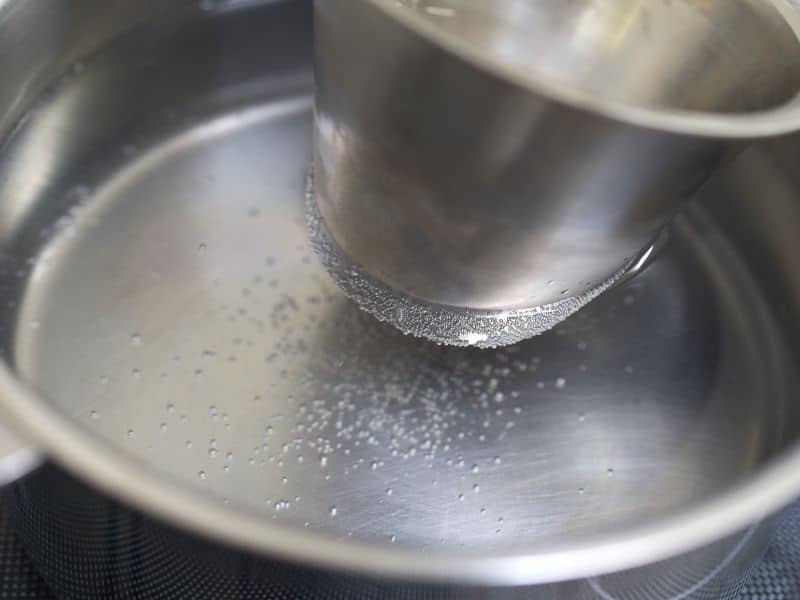
Choose a pot large enough to hold a heat-safe glass or metal bowl, which will contain the wax. Ensure the bowl fits snugly on top of the pot without touching the bottom.
Adding Water to the Pot
Fill the pot with water until it’s about 1/3 full or as much as you can add without causing the bowl with wax to float. Make sure the water level doesn’t touch the bottom of the bowl.
Heat the Wax Slowly
Place the pot with water on the stove, then set the bowl with wax on top. Heat the water over low to medium heat, avoiding high temperatures to prevent wax from overheating.
Stir Regularly
Stir the wax gently and consistently as it melts, using a heat-resistant spatula or spoon. This ensures even heating and helps prevent hot spots or uneven melting.
Monitor Water Level and Wax Temperature
Check the water level in the pot regularly to ensure it doesn’t evaporate completely. Add more water as needed to maintain a consistent level. Use a thermometer to monitor the wax temperature, keeping it within the optimal range for the specific wax type.
At What Temperature Does Candle Wax Melt?
| Wax Type | Melting Temperature |
| Soy Wax | 120°F – 130°F (49°C – 54°C) |
| Paraffin Wax | 120°F – 160°F (49°C – 71°C) |
| Beeswax Wax | 145°F – 155°F (63°C – 69°C) |
| Coconut Wax | 110°F – 130°F (43°C – 54°C) |
| Palm Wax | 130°F – 160°F (54°C – 71°C) |
What Temperature Do You Add Fragrance To Melted Wax?
Adding fragrance to your melted wax is an essential step in creating scented candles. However, the temperature at which you add the fragrance oil can significantly impact the final result. If the wax is too hot or too cold, the fragrance may not mix well, leading to an uneven scent distribution or a weaker scent throw.
Different types of wax have specific temperature ranges for adding fragrance, typically called the “fragrance load temperature.” It’s crucial to know the recommended temperature for your wax type to achieve the best results.
Here are some general guidelines for when to add fragrance to various waxes:
- Soy wax: 120°F – 150°F (49°C – 65°C)
- Paraffin wax: 130°F – 160°F (54°C – 71°C)
- Beeswax: 155°F – 175°F (68°C – 79°C)
- Palm wax: 130°F – 160°F (54°C – 71°C)
- Coconut wax: 120°F – 140°F (49°C – 60°C)
These temperature ranges ensure that the fragrance oil properly binds with the wax, leading to even scent distribution and an optimal scent throw in the finished candle. To measure the temperature accurately, use a thermometer specifically designed for candle-making or a reliable digital thermometer.
Gently Stir
When adding fragrance, gently stir the oil into the melted wax to ensure even distribution. It’s essential not to stir too vigorously, as this can introduce air bubbles into the wax, affecting the candle’s burning quality.
Stir for about 1 to 2 minutes to allow the fragrance oil to blend with the wax fully.
Check Flashpoints
Keep in mind that every fragrance oil has a different flashpoint, the temperature at which the oil may vaporize or ignite. Always check the manufacturer’s recommendations for the specific fragrance oil you’re using and avoid exceeding the flashpoint.
Additionally, some fragrance oils may require higher or lower temperatures depending on their composition. To achieve the desired scent throw and performance, follow the guidelines provided by the fragrance manufacturer or consult with experienced candle-makers.
How Do You Melt Old Candles On A Stove
Using your kitchen stove is a great way to melt old candles and repurpose them.
Here is how you do it!
Melt old pillar candles on a stove by placing them in the top pot of a double boiler and keep stirring them regularly until you are able to pull out the wick and any other debris by using a fork or spatula.
Melt old container candles on a stove by placing them in a hot water bath. Use a saucepan with a small amount of water and place your container candles in it until they begin to melt along the sides or the bottom. Then you can dump the wax out into the top pot of a double boiler.
Once the wax is completely melted and all the wicks and debris have been removed then you will be able to add fragrance and pour the wax into new containers.
Tips for Melting Candle Wax
Optimal Temperature
Different types of wax have varying melting points. Generally, the optimal temperature range is between 160°F and 185°F (70°C and 85°C). Use a thermometer to monitor the wax temperature and ensure even melting.
Stirring Techniques
Stir the wax gently and consistently using a heat-resistant spatula or spoon. This helps distribute heat evenly, preventing hot spots or uneven melting. Avoid vigorous stirring, as it may introduce air bubbles into the wax.
Preventing Spills
To avoid spills, use a stable, heat-safe bowl for melting wax. Be cautious when pouring hot wax into containers. You can use a funnel or a heat-resistant container with a spout to make pouring easier and more precise.
Creative Uses for Melted Wax
Reusing Old Candles
Don’t throw away leftover wax from burned-out candles. Melt the wax and remove any wick or debris. You can then create new candles using the cleaned wax and fresh wicks.
Making New Candles
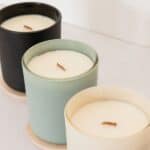
Choose your desired container and place a wick in the center. Slowly pour the melted wax into the container, leaving some space at the top. Allow the wax to cool and harden completely before trimming the wick and using the new candle.
Fun Craft Ideas
Melted wax is versatile and perfect for various crafts. Create colorful wax seals for letters, design your own crayons, or make wax-dipped flowers for unique decorations.
Cleanup and Storage
Proper Wax Removal
Once you’ve finished melting wax, allow any remaining wax in the bowl to cool slightly. While still warm, use a paper towel or cloth to wipe out the bowl, removing as much wax as possible. Clean the bowl with warm, soapy water to remove any residue.
Storing Leftover Wax
Store leftover wax in airtight containers, such as plastic bags or jars, to keep it clean and dry. Label containers with the wax type, color, and fragrance to make future projects easier. Keep wax in a cool, dark place away from heat or direct sunlight.
Frequently Asked Questions
Yes, you can add colorants and fragrance oils to the melted wax, ensuring you mix them in at the recommended temperatures for optimal results.
The wax is fully melted when it reaches a liquid state with no solid pieces remaining. Use a thermometer to monitor the temperature and ensure even melting.
Yes, you can reuse wax from old candles by melting it, removing any debris or wick remnants, and creating new candles with fresh wicks.
While the wax is still warm, wipe the bowl with a paper towel or cloth, then wash it with warm, soapy water to remove any residue.
Store leftover wax in airtight containers, like plastic bags or jars, labeled with the wax type, color, and fragrance. Keep it in a cool, dark place.
Conclusion
In conclusion, melting candle wax on a stovetop is an easy and accessible way to create new candles or repurpose old ones. By following the step-by-step guide and understanding the importance of temperature control and safety precautions, you can craft beautiful and fragrant candles right at home. Experiment with different wax types, colors, and scents to create unique candles tailored to your preferences. Happy candle-making!

