With different soap making methods available, it can be challenging to determine which one is the most widely used. Whether you are a seasoned soap maker or a beginner, understanding the various techniques will help you choose the best method for your soap making needs.
Cold process is the most popular way to make soap due to its versatility, allowing soap makers to use a variety of oils, fragrances, and colors to create a unique product. Additionally, the soap produced is gentle and moisturizing, making it a popular choice for those with sensitive skin.
The soap making process involves combining oils and sodium hydroxide. This chemical reaction, called saponification, produces soap that is cured for four to six weeks before it can be used. Let’s take a closer look at some of the other methods and how they stack up.
Types of Soap Making
The three most popular methods of soap making are cold process, hot process, and melt and pour.
Cold Process Soap Making
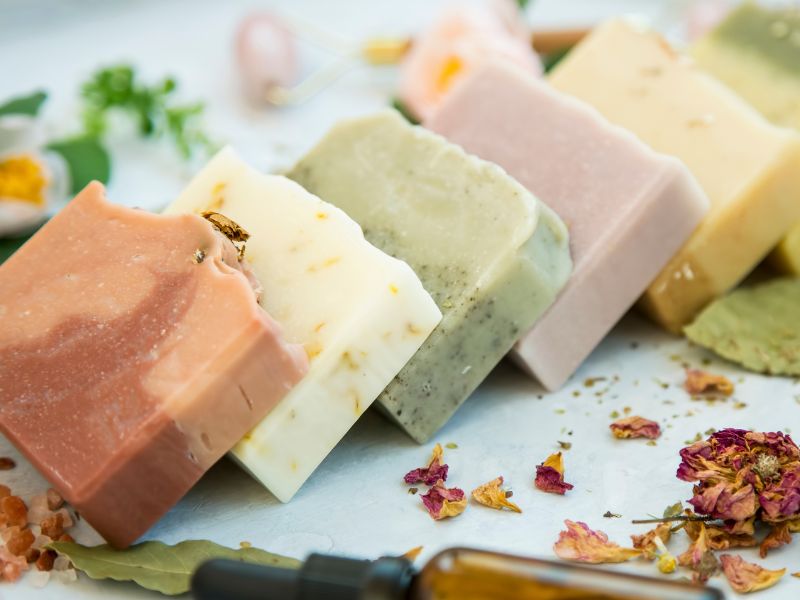
Cold process soap making is the most traditional way of making soap. It involves mixing lye (sodium hydroxide) with oils and allowing the mixture to naturally cure over several weeks. This process produces a hard, long-lasting bar of soap with a creamy lather. One of the benefits of cold process soap making is that it allows for a lot of creative freedom. You can add different scents, colors, and textures to your soap by incorporating herbs, flowers, and other natural ingredients.
Hot Process Soap Making
Hot process soap making is similar to cold process soap making, but with the added step of cooking the soap mixture. This speeds up the curing process, resulting in soap that can be used within a few days. Hot process soap making is a great option for those who want to create soap quickly and efficiently. The texture of hot process soap is usually more rustic and less smooth than cold process soap.
Melt and Pour Soap Making
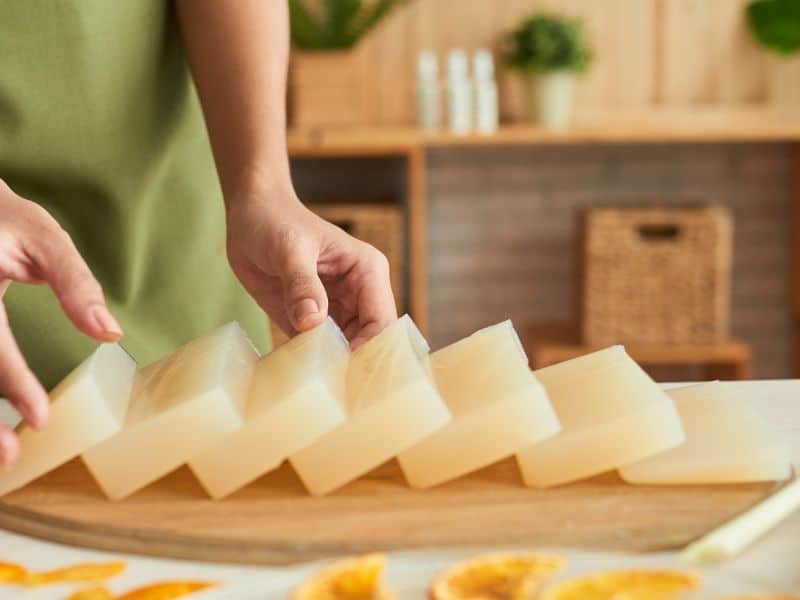
Melt and pour soap making is the easiest and most beginner-friendly method of soap making. As the name suggests, this method involves melting pre-made soap base and adding fragrance and color. The melted soap is then poured into molds and allowed to cool and harden. Melt and pour soap making allows for a lot of creativity and is a great option for those who want to create soap without the use of lye. This method of soap making is also great for creating fun and decorative soaps, such as glycerin soaps with embedded toys or flowers.
Understanding Cold Process Soap Making
Here are the ingredients and tools needed for cold process soap making:
Tools and Ingredients:
- Oils (such as olive oil, coconut oil, and palm oil)
- Lye
- Water
- Essential oils (for fragrance)
- Additives (such as herbs or natural colorants)
- Safety goggles and gloves
- Stainless steel pot
- Thermometer
- Stick blender
- Soap molds
Step-by-Step Process:
- Measure out the oils and heat them up in a pot until they reach 100-110°F.
- Measure out the lye and mix it with water in a separate container. Be sure to wear gloves and goggles during this step as lye can be dangerous.
- Once both the oils and lye mixture reach the desired temperature, slowly pour the lye mixture into the pot with the oils, and stir with a stick blender until it reaches a light trace.
- Add any essential oils or additives and mix well.
- Pour the soap mixture into soap molds and let it cure for 4-6 weeks.
Pros and Cons
Pros:
- Allows for complete control over the ingredients used in the soap.
- Can create unique and customizable soap bars.
- The curing process results in a harder and longer-lasting bar of soap.
Cons:
- Can be time-consuming and requires patience.
- The use of lye can be dangerous if not handled properly.
- The curing process can take several weeks.
Understanding Hot Process Soap Making
Here are the ingredients and tools needed for hot process soap making:
Ingredients and Tools Needed
- Lye
- Water
- Oils and fats
- Fragrance or essential oils
- Slow cooker or stove
- Thermometer
- Immersion blender
- Protective gear (goggles, gloves, apron)
Step-by-Step Process
- Measure out the oils and fats and melt them in the slow cooker or on the stove.
- Mix the lye and water in a separate container, taking care to do so in a well-ventilated area and while wearing protective gear.
- Once the oils and fats have melted, add the lye mixture to the slow cooker or pot and mix with an immersion blender until it reaches trace.
- Cover the slow cooker or pot and let the mixture cook for several hours until it reaches the “gel phase,” where the mixture turns translucent and begins to boil.
- Check the temperature of the mixture with a thermometer, ensuring it stays between 150-180°F (65-80°C).
- Once the mixture has cooked for a few hours and has reached gel phase, turn off the heat and let it cool for a few minutes.
- Add any fragrance or essential oils at this point, mixing well.
- Pour the mixture into molds and let it cool and harden for 24-48 hours.
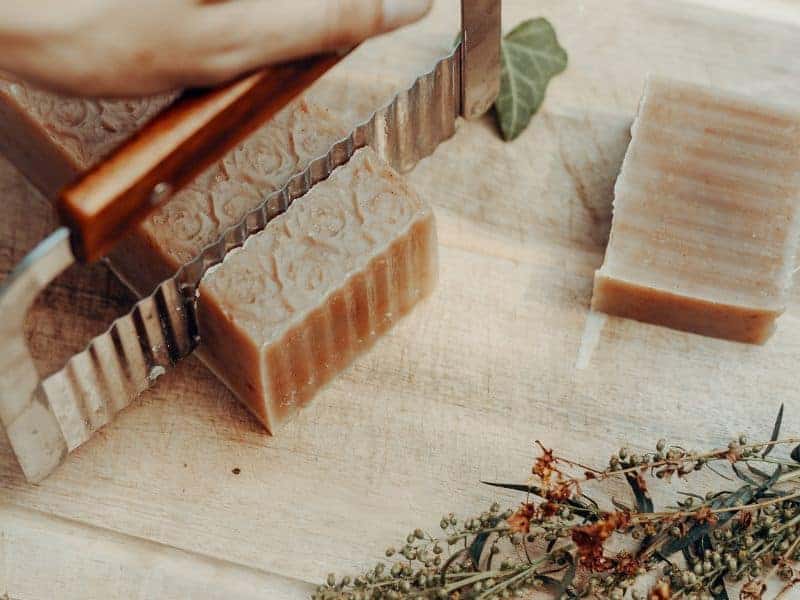
- Once fully hardened, remove the soap from the mold and cut it into bars.
Pros and Cons
The hot process soap making method has its own set of pros and cons.
Pros:
- Faster process than cold process soap making
- The soap is ready to use immediately after curing
- The soap has a rustic, textured look
Cons:
- Can be difficult to achieve consistent results
- The soap can have a rougher texture than cold process soap
- The cooking process can cause the fragrance or essential oils to dissipate, resulting in a weaker scent.
Understanding Melt and Pour Soap Making
Here are the ingredients and tools needed for melt and pour soap:
Ingredients and Tools Needed
To make melt and pour soap, you will need:
- A pre-made soap base: Glycerin soap bases are widely available and come in various colors and types, such as clear or opaque, scented or unscented, and with or without additives like shea butter or aloe vera.
- Fragrance or essential oils: These can be added to the melted soap base to create a variety of scents.
- Colorants: Melt and pour soap bases can be colored using soap dyes, natural colorants like herbs or clays, or even food coloring.
- Additives: Depending on the type of soap base, you can add other ingredients like exfoliants, moisturizers, or skin-nourishing oils.
- Double boiler or microwave-safe container: A double boiler or a microwave-safe container is used to melt the soap base.
- Soap molds: You will need soap molds to shape the melted soap base into bars.
Step-by-Step Process
- Cut the soap base into small pieces and melt it in a double boiler or microwave-safe container. Be sure to follow the instructions on the soap base package for melting and heating times.
- Once the soap base is melted, add your fragrance, colorants, and any other desired additives. Stir well.
- Pour the melted soap mixture into soap molds. Tap the molds lightly on a flat surface to remove any air bubbles.
- Allow the soap to cool and harden for several hours or overnight.
- Once the soap has hardened, remove it from the molds and enjoy!
Pros and Cons
Pros:
- It is a safe and easy method that does not require working with lye.
- The soap bases are widely available and come in a variety of colors, scents, and types.
- It is a relatively quick method, with the soap bars ready to use within a few hours.
Cons:
- The soap bases may contain additives like sulfates, which may be harsh on sensitive skin.
- The resulting soap bars may not be as long-lasting or as high-quality as those made using other methods.
- The customization options are limited by the pre-made soap base, so it may not be the best choice for those looking for complete creative control over their soap recipes.
Comparison and Analysis
Comparison:
One of the biggest differences between these three methods is the amount of time and effort required.
Cold process soap making takes the most time and effort, as it involves making soap from scratch using lye and oils.
Hot process soap making is a bit faster and easier, as it involves cooking the soap mixture and speeding up the saponification process.
Melt and pour soap making is the easiest and fastest method, as it involves simply melting pre-made soap base and adding fragrance and color.
Another difference is the level of control over ingredients.
Cold process soap making allows for the most control over ingredients, as you are starting from scratch and can choose every ingredient that goes into the soap.
Hot process soap making and melt and pour soap making involve using pre-made soap bases, which limits your control over the ingredients.
Finally, there is a difference in the final product.
Cold process soap making results in a harder, longer-lasting bar of soap, while hot process soap making and melt and pour soap making result in softer bars of soap that may not last as long.
Analysis:
Despite the differences between these methods, each of them has its own set of benefits and drawbacks that contribute to its popularity.
Cold process soap making is popular among those who want complete control over their soap ingredients and are willing to put in the time and effort to make soap from scratch. It is also popular among those who prefer a harder, longer-lasting bar of soap.
Hot process soap making is popular among those who want to speed up the soap making process without sacrificing too much control over the ingredients. It is also popular among those who prefer a softer bar of soap.
Melt and pour soap making is popular among those who want to make soap quickly and easily, without the need for extensive knowledge or equipment. It is also popular among those who prefer a softer, more moisturizing bar of soap.
Frequently Asked Questions
The melt and pour method is the easiest and most beginner-friendly of the three main soap making methods.
The hot process method produces the most consistent results, as the heat speeds up the saponification process and reduces the risk of errors.
The melt and pour method is best for making transparent soap, as it involves using a pre-made soap base that is designed to be clear.
The melt and pour method produces soap that is ready to use as soon as it has hardened in the mold, while the hot and cold process methods require several weeks of curing time.
Conclusion
In conclusion, cold process is the most popular method of soap making for those who want complete control over their ingredients and a longer-lasting bar of soap. It does require more time and effort than hot or melt and pour methods, but it offers unparalleled flexibility when it comes to creating unique recipes with custom fragrances and colors.
Whether you’re an experienced maker looking for creative freedom or a beginner just getting started in the world of homemade soaps, cold process has something to offer everyone!

