If you’ve ever wondered what “cold process soap” means, you’re in the right place. In this article, we’ll demystify this popular, natural soap making method by exploring its ingredients, process, benefits, and how it compares to hot process soap. So, what does cold process soap mean?
Cold process means the soap is made without external heat. That is where the “cold process” part of the name comes from. The soap is made by mixing oils, lye solution, and optional additives without external heat. It hardens and matures over several weeks as it cures.
As interest in natural and sustainable products grows, cold process soap has gained popularity among both consumers and DIY enthusiasts. Its simple ingredients and creative possibilities make it an appealing choice for those who seek a personalized, skin-friendly soap.
Moreover, making cold process soap at home can be a fulfilling hobby, allowing you to craft unique, eco-conscious gifts for friends and family or to simply indulge yourself in a luxurious, handcrafted bathing experience.
Let’s take a closer look at the cold process soap making method.
Better Understanding Cold Process Soap
Oils and fats form the foundation of cold process soap. Popular choices include olive oil for a mild, gentle lather; coconut oil for a bubbly, cleansing effect; and sustainably-sourced palm oil for a firm bar. Additionally, luxurious shea and cocoa butters impart moisturizing properties.
Lye, also known as sodium hydroxide, is a potent alkali that reacts with oils through saponification, transforming them into soap. Lye solution is prepared by carefully dissolving lye in water or alternative liquids like milk or tea.
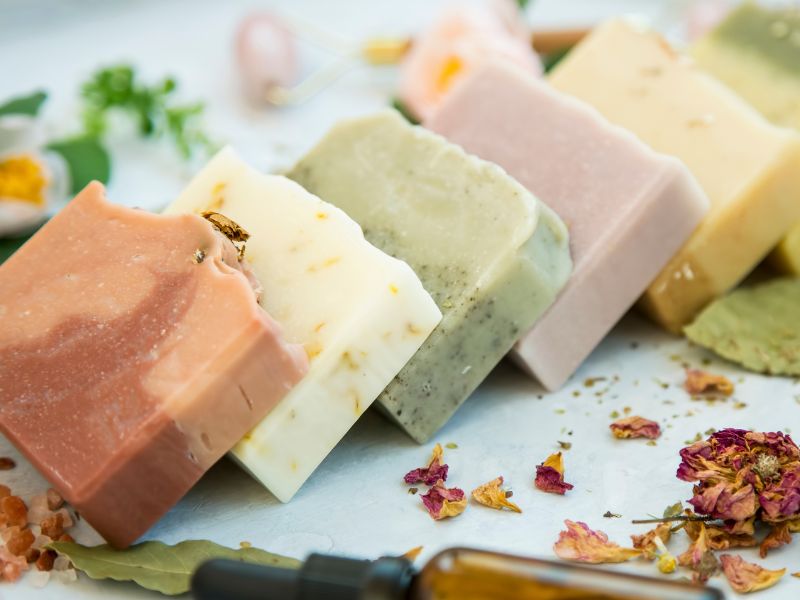
A variety of additives enhance the soap’s appearance, fragrance, and skincare benefits. Essential oils like lavender and eucalyptus provide natural scents, while herbs, such as calendula and chamomile, contribute gentle exfoliation or soothing effects.
Clays like kaolin or bentonite can detoxify and improve skin texture. Coloring agents stem from natural sources like micas and plant-based powders or soap-specific dyes for creative designs.
Cold Process Soap Making Steps
Preparing the ingredients
Before starting, gather all necessary ingredients, tools, and protective gear. Measure oils, fats, and lye solution accurately using a digital scale.
Melt solid oils and butters gently until liquid, then let them cool to room temperature. Prepare the lye solution in a well-ventilated area, allowing it to cool as well.
Mixing oils and lye
Once cooled, slowly pour the lye solution into the oils while stirring gently. Use an immersion blender to blend the mixture until it reaches a pudding-like consistency, known as “trace.” Add essential oils, additives, and colors at this stage, blending them thoroughly.
Tracing and molding
When the soap reaches trace, it’s time to pour it into a mold. Use a silicone or lined wooden mold to facilitate easy removal.
Gently tap the mold on the counter to release air bubbles, then use a spatula to create a smooth or textured top, as desired.
Curing period
Cover the filled mold with a towel or insulation to maintain a consistent temperature. Let the soap sit undisturbed for 24-48 hours, then carefully remove it from the mold.
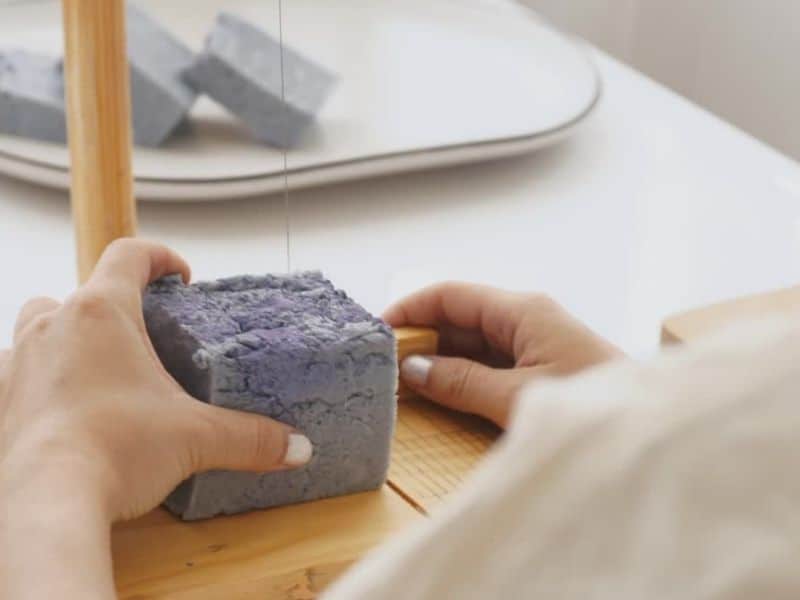
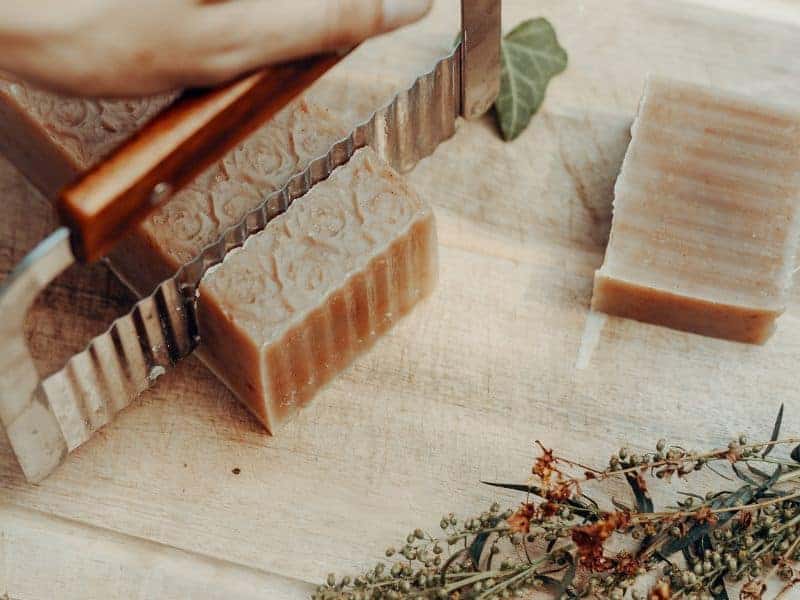
Cut it into bars and place them on a rack or tray, allowing air circulation. Allow the soap to cure for 4-6 weeks to ensure hardness, mildness, and a longer-lasting bar.
Benefits of Cold Process Soap
Natural and gentle
Cold process soap is made with natural ingredients, free from harsh chemicals or synthetic detergents. Its gentle, moisturizing properties suit all skin types, including sensitive skin.
Customization options
Making cold process soap offers endless creative possibilities. Choose oils, scents, colors, and additives to create a unique, personalized soap tailored to your preferences or skincare needs.
Longer-lasting bars
Cold process soaps generally last longer than commercial alternatives, as they are denser and more concentrated. The curing process allows excess water to evaporate, resulting in a firm, high-quality soap bar.
Cold Process vs. Hot Process Soap
Cold process soap making involves mixing oils and lye solution without heat, while hot process soap requires cooking the mixture to speed up saponification. The two methods result in distinct final products.
Cold process soap tends to have a smoother, more polished appearance, making it ideal for intricate designs and patterns. Hot process soap, due to cooking, has a rustic, rough texture that resembles thick porridge or mashed potatoes.
Cold process soap requires a longer curing time, typically 4-6 weeks, to achieve its optimal qualities. Hot process soap, however, is ready to use immediately after cooling and hardening, as the cooking process eliminates excess water and completes saponification.
Cold Process vs Melt and Pour
Cold process soap and melt and pour soap are two popular methods of soap making that cater to different preferences, skill levels, and creative possibilities.
Cold process soap is made from scratch, using oils, fats, and lye solution. The ingredients are mixed at specific temperatures, traced, molded, and cured over 4-6 weeks.
This method requires more expertise, patience, and safety precautions, but it allows for greater customization and control over the ingredients, making it ideal for those seeking a natural and artisanal product.
Cold process soap is known for its gentle, moisturizing properties, and offers endless creative opportunities for colors, scents, and additives.
Melt and pour soap, on the other hand, involves melting a pre-made soap base, which can be easily customized with colors, fragrances, and additives before pouring into molds.
This method is beginner-friendly, as it doesn’t require handling lye or the extensive curing period associated with cold process soap.
Melt and pour soap making allows for quick, fun, and creative projects, but it often lacks the same level of customization and natural appeal as cold process soap.
The choice between cold process and melt and pour soap depends on your skill level, desired level of customization, and the time you’re willing to invest in the soap making process. Both methods offer unique advantages and opportunities for creating personalized, handcrafted soaps.
Cold Process Soap Making Tips
Here are some tips to guide you through the cold process soap making process.
- Research the process, safety guidelines, and gather all necessary tools and ingredients.
- Use a digital scale for accurate measurements.
- Control the temperature of oils and lye solution during mixing.
- Be patient and wait for the mixture to reach trace.
- Test new fragrances and colors in small batches.
- Experiment with different additives for unique soap properties.
- Ensure a low-humidity, well-ventilated environment during the curing process.
- Rotate soap batches for even drying and air circulation.
- Maintain detailed records of your soap making process.
- Connect with fellow soap makers for inspiration and support.
You can expect to improve your cold process soap making skills by following these tips, leading to the creation of beautiful, high-quality, and unique soap bars. As you gain experience, you’ll be able to craft soaps tailored to your preferences and skincare needs.
Safety Tips for Cold Process Soap Making
Lye is caustic and can cause burns or irritation upon contact with skin or eyes. When handling lye, always pour it into water or other liquids, not the other way around, to prevent dangerous chemical reactions. Work in a well-ventilated area and avoid breathing in lye fumes.
To protect yourself from lye exposure, wear appropriate safety gear, such as gloves, goggles, long sleeves, and closed-toe shoes. Keep a bottle of vinegar nearby to neutralize any lye spills or skin contact.
Always follow trusted soap recipes and instructions, particularly regarding lye amounts and proper ratios. Accurate measurements are crucial for a safe and successful soap making experience. Research and understand each ingredient’s properties and characteristics before experimenting with new formulations.
Frequently Asked Questions
Making cold process soap takes a few hours, including preparation, mixing, and molding. However, the curing period requires an additional 4-6 weeks before the soap is ready for use.
No, lye is a necessary ingredient for making cold process soap, as it reacts with oils through saponification to produce soap. Without lye, the process would not occur.
Yes, cold process soap is generally safe for sensitive skin, as it contains natural ingredients and lacks harsh chemicals or synthetic detergents found in some commercial soaps.
Yes, natural colorants such as plant-based powders, clays, or micas can be used to add color to cold process soap.
Silicone or lined wooden molds work well for cold process soap, as they facilitate easy removal of the soap after it has hardened.
Follow safety precautions like wearing protective gear, handling lye properly, working in a well-ventilated area, and following trusted recipes and instructions to ensure a safe soap making experience.
Conclusion
In conclusion, cold process soap offers a natural, gentle, and customizable alternative to conventional soaps. By understanding the ingredients, process, and benefits of this artisanal soap, you can make informed decisions when purchasing or crafting your own soap.
The cold process method provides endless creative opportunities and a high-quality, long-lasting product, making it a favorite among soap enthusiasts. As you venture into the world of cold process soap making, remember to follow safety precautions and enjoy the rewarding experience.

