With the increasing popularity of handmade and artisanal soap, ensuring the quality and safety of these products is of paramount importance. The zap test serves as a simple yet effective means of evaluating the soap’s quality.
The zap test is a traditional method used to determine whether handmade soap has been properly saponified, and if any residual lye remains. By gauging the soap’s pH levels, this test helps soap makers ensure that their products are safe for use and free from excess alkalinity.
While the zap test is not strictly necessary, it is a helpful tool for soap makers to ensure the quality and safety of their products. By checking the pH level, soap makers can confirm that saponification is complete, and that the soap is mild enough for use on the skin.
History of The Zap Test
Origins in Traditional Soap Making
The zap test dates back to the early days of soap making, when homemade soap was a necessity rather than a luxury. Soap makers of the past relied on their senses, particularly their sense of taste, to assess the quality of their creations.
They would touch a small amount of soap to their tongue, and if it produced a stinging or “zapping” sensation, it was considered unsafe for use. This rudimentary method of quality control was the genesis of the modern zap test.
Evolution of The Method
Over the years, as our understanding of chemistry and safety has advanced, the zap test has evolved into a more sophisticated and reliable method. Instead of relying on taste, modern soap makers utilize pH testing methods to determine the soap’s safety.
This not only eliminates the need for tasting the soap, but also provides a more accurate and scientific evaluation of the product’s quality.
The Science Behind The Zap Test
Chemical Reactions in Soap Making
Soap making is a process that involves a chemical reaction known as saponification. During saponification, lye (sodium hydroxide) reacts with oils or fats to produce soap and glycerin. This reaction transforms the individual components into a completely new substance that possesses unique properties, such as cleansing and moisturizing abilities.
Role of Lye in Saponification
Lye is an essential ingredient in the soap making process. It acts as a catalyst that drives the chemical reaction, facilitating the transformation of oils and fats into soap. However, lye is a highly caustic substance that can cause burns and irritation if not neutralized completely.
Ensuring that the lye has been properly consumed and neutralized during the saponification process is critical to producing safe and skin-friendly soap.
The Significance of pH Levels
The zap test measures the pH level of soap, which is a scale used to determine the acidity or alkalinity of a substance. A pH of 7 is considered neutral, while a pH below 7 indicates acidity and a pH above 7 indicates alkalinity.
The ideal pH for handmade soap ranges from 8 to 10, which indicates that the lye has been neutralized and the soap is safe for use. By measuring the soap’s pH level, the zap test helps soap makers ensure that their products have been properly saponified and are free from residual lye.
Materials Needed For The Zap Test
Soap Sample
To conduct the zap test, you will need a small piece of the soap you wish to test. It is best to use a sample that has been curing for at least 4-6 weeks. This ensures that the saponification process has had sufficient time to complete, and you can get accurate results from the test.
Distilled Water
You will need a small amount of distilled water to wet the soap sample. Distilled water is recommended because it is free of minerals and impurities that may interfere with the test results.
pH Test Strips Or a pH Meter
To measure the pH level of your soap sample, you can use either pH test strips or a pH meter. pH test strips are affordable and easy to use, while a pH meter may provide more accurate results but can be more expensive.
Step-By-Step Guide to The Zap Test
Preparing The Soap Sample
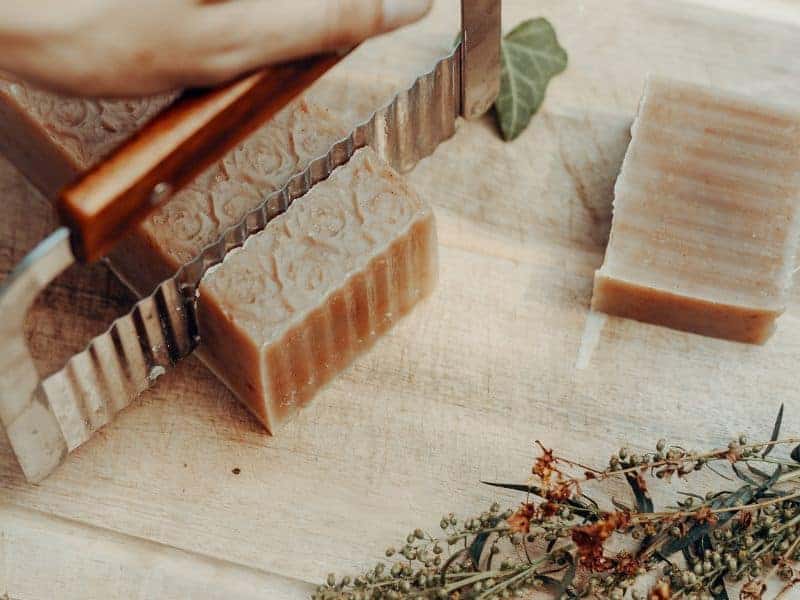
First, cut a small piece of soap from the soap bar you wish to test. The sample should be about the size of a pea. Make sure your hands are clean and dry when handling the soap to avoid contamination.
Testing The Sample With Water
Place the soap sample on a clean surface, and pour a small amount of distilled water onto it. Rub the soap between your fingers to create a lather. The water helps to activate the soap, allowing it to interact with the pH testing method you will use.
Measuring The pH Level
Now, it’s time to measure the pH level of the soap. If you’re using pH test strips, dip the strip into the soap lather and wait for the strip to change color. If you’re using a pH meter, follow the manufacturer’s instructions for calibration and measurement. Ensure the meter’s probe comes into contact with the soap lather to get an accurate reading.
Interpreting The Results
Compare the color of the pH test strip or the pH meter reading to the corresponding pH scale. Ideally, the pH level of your soap should be between 7 and 10. A pH level within this range indicates that the soap is mild and safe for use. If the pH level is lower than 7 or higher than 10, it may be too harsh or not fully saponified, respectively.
Safety Considerations
Handling Lye and Raw Soap
When handling lye and raw soap, always work in a well-ventilated area and avoid direct contact with skin, as it can cause burns. If lye or raw soap comes into contact with your skin, rinse immediately with plenty of water.
Protective Equipment
Wear appropriate personal protective equipment (PPE), such as gloves, goggles, and a long-sleeved shirt, when conducting the zap test. This will help protect your skin and eyes from potential harm.
Proper Disposal
Dispose of used pH test strips or any soap residue in accordance with local regulations. If you used a pH meter, clean it thoroughly with water and store it according to the manufacturer’s instructions.
Common Mistakes and Troubleshooting
Inaccurate Measurements
One common mistake during the zap test is the inaccurate measurement of the soap’s pH level. This can occur if the pH test strips or pH meter are not used correctly or if they have expired. Ensure that you are using a reliable testing method, and follow the manufacturer’s instructions for accurate results.
Incomplete Saponification
If the soap has not gone through the full saponification process, it may yield inaccurate test results. This can occur if the soap has not been allowed to cure for an adequate amount of time. Ensure that your soap has cured for at least 4-6 weeks before performing the zap test.
External Factors Affecting the Test
The presence of impurities in the water used for the test or contamination of the soap sample can affect the test results. Always use distilled water and handle the soap sample with clean hands to avoid these issues.
The Zap Test and Soap Quality
Determining Optimal pH Levels
The optimal pH level for soap depends on its intended use. Generally, a pH level between 7 and 10 is considered safe and mild for most skin types. However, if your soap is designed for specific uses or skin conditions, you may need to adjust the pH accordingly.
Importance of Curing Time
Curing time is crucial in ensuring that the saponification process is complete and that your soap is safe to use. Allowing your soap to cure for at least 4-6 weeks will help guarantee accurate results from the zap test and produce a higher quality, milder soap.
Alternative Testing Methods
Phenolphthalein Test
The phenolphthalein test is another method used to determine the pH level of soap. This test involves adding a few drops of phenolphthalein solution to the soap sample. A color change to pink indicates that the soap is still caustic and not yet safe to use.
Titration Test
The titration test is a more precise method of determining the pH level of soap. This process involves using a standardized acid solution to titrate the soap sample, then calculating the pH based on the volume of acid used. While the titration test is more accurate, it requires specialized equipment and a good understanding of chemistry.
Comparing Methods
Each testing method has its advantages and drawbacks. The zap test and phenolphthalein test are both simple and affordable but may not provide the most accurate results. The titration test offers greater accuracy but can be more complex and time-consuming. Choose the method that best suits your needs and expertise.
Frequently Asked Questions
The zap test helps determine if the soap’s saponification process is complete and if the soap is mild and safe for use on the skin by measuring its pH level.
The ideal pH level for soap is between 7 and 10, indicating that the soap is mild and safe for use.
It’s best to allow the soap to cure for at least 4-6 weeks before performing the zap test to ensure that the saponification process is complete and results are accurate.
Curing time ensures that the saponification process is complete and results in a higher quality, milder soap, making the zap test results more accurate.
If the pH level is outside the ideal range, consider adjusting your soap recipe or allowing the soap to cure longer before retesting.
The zap test is suitable for most types of soap, including cold process and hot process soaps. However, it may not be as accurate for liquid or cream soaps, which may require alternative testing methods.
Conclusion
In conclusion, the zap test is an essential technique for soap makers to assess the quality and safety of their handmade soaps. By understanding the process, troubleshooting common mistakes, and considering alternative testing methods, you can ensure that your soaps are gentle and safe for use. Remember the importance of curing time and determining the optimal pH levels for your specific soap recipes.
By taking these factors into account and following safety precautions, you can craft high-quality soaps that cater to various skin types and purposes, providing a delightful experience for users. Ultimately, the zap test and its alternatives empower you as a soap maker to create the best possible product for your customers and loved ones.

